

Resize Image for Social Media
Every platform wants a different shape, and each one crops what does not fit. Pick where your photo is going, choose a post, story, thumbnail or cover size, and decide what stays in the frame before the platform decides for you.
Free to use · No signup · No watermark
Step 1: Add your photo
JPG, PNG or WebP. It stays on your device.
Drop your photo here
or choose a file from your device
Your image is resized in your browser and never uploaded.
See the Same Photos Made for Six Platforms
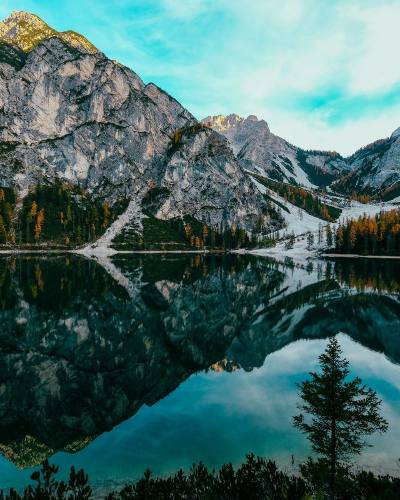
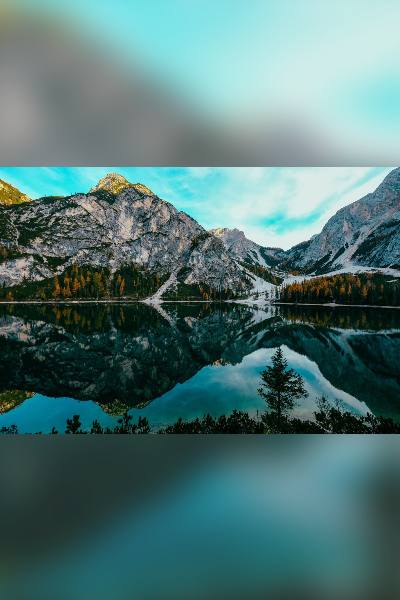
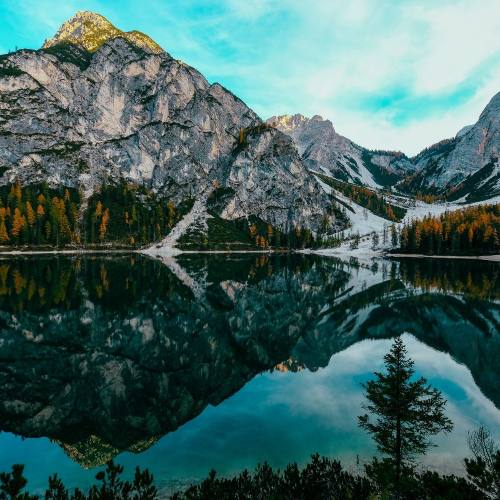
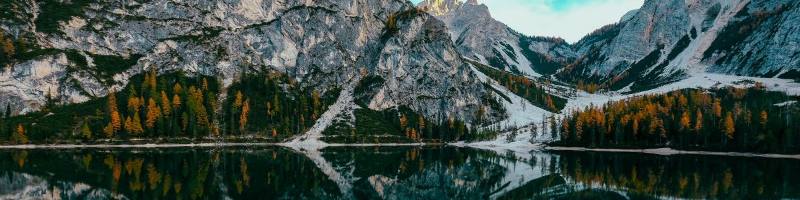
Each image below came out of this tool. The labels give the real size of the file it exports.

Social Media Image Sizes at a Glance
Every size the tool offers. Each platform page has the full table, with notes and the source it was checked against.
- Portrait post1080 × 1350
- Square post1080 × 1080
- Landscape post1080 × 566
- Story1080 × 1920
- Reel cover1080 × 1920
- Profile picture320 × 320
- Feed post, square1080 × 1080
- Feed post, portrait1080 × 1350
- Link and landscape post1200 × 630
- Story1080 × 1920
- Page cover photo1640 × 624
- Profile picture720 × 720
YouTube
- Video thumbnail1280 × 720
- Video thumbnail, 4K3840 × 2160
- Shorts thumbnail1080 × 1920
- Channel banner2560 × 1440
- Channel picture800 × 800
TikTok
- Photo post or video cover1080 × 1920
- Square photo1080 × 1080
- Profile picture720 × 720
- Post or link image1200 × 627
- Square post1200 × 1200
- Portrait post1080 × 1350
- Profile background1584 × 396
- Company page cover1128 × 191
- Profile photo or logo400 × 400
- Standard Pin1000 × 1500
- Square Pin1000 × 1000
- Tall Pin1080 × 1920
- Profile cover1600 × 900
X (Twitter)
- Post image1600 × 900
- Square post image1080 × 1080
- Profile header1500 × 500
- Profile photo400 × 400
How to Resize an Image for Social Media
- 1
Pick the platform
Instagram, Facebook, YouTube, TikTok, LinkedIn, Pinterest or X. The sizes for that platform appear underneath.
- 2
Choose the format
A feed post, story, Reel cover, thumbnail, banner or profile picture. Each one shows its size and shape.
- 3
Upload and adjust
Drop in a photo. Drag the preview to choose the crop and zoom in if you want, or keep the whole photo on a background.
- 4
Download
Save it as JPEG, PNG or WebP at the exact size. Then post it — the platform has nothing left to crop.
Two Ways to Reach the Right Shape
Crop to fill: no empty space
The photo is scaled until it covers the whole frame, and whatever sticks out is trimmed. Drag the preview, or use the position sliders, to keep the part you care about. Zoom in to crop tighter. Best when the photo is close to the target shape, like a 3:4 phone photo going into a 4:5 post.
Show whole photo: nothing is cut
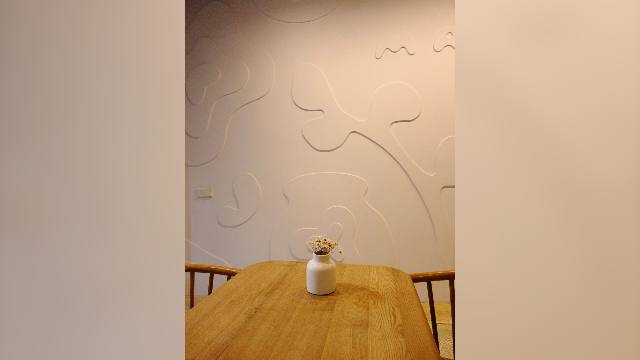
The whole photo is scaled to fit inside the frame, and the space left over is filled with a blurred copy of the same photo or a color you pick. Best when the shapes are far apart, like a landscape going into a 9:16 story. Need more control over the space? Try Add Padding to Image.
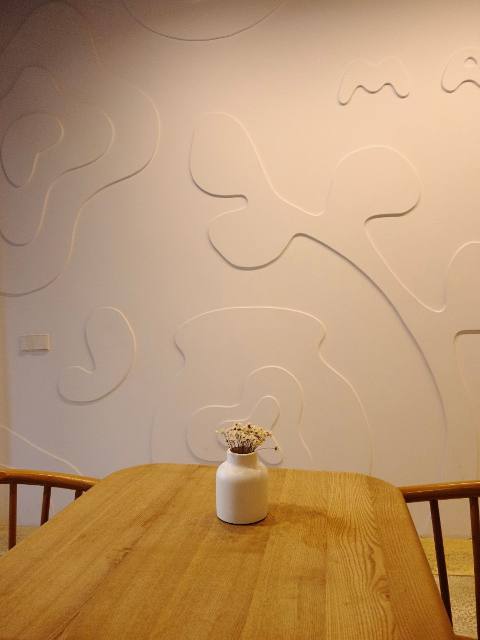
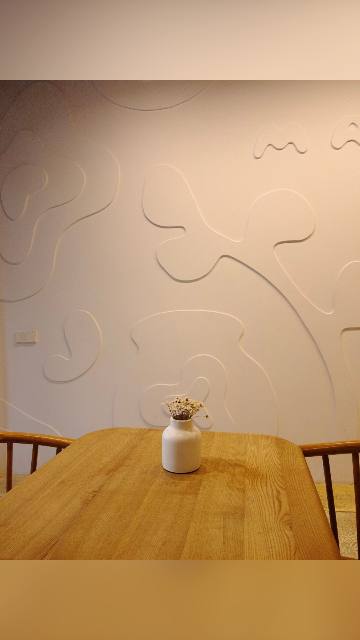
A product photo kept whole in a story
Story · Show whole photo · Blurred photo
Cropping a 3:4 product photo to 9:16 would cut off the sides of the table. Show whole photo keeps all of it and fills the space above and below with a soft, blurred copy of the same picture, so the story does not look like it has black bars.
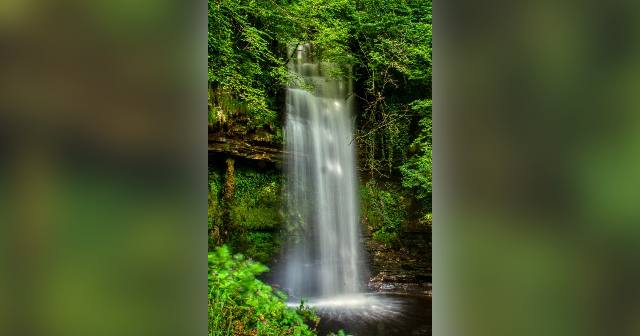
A tall photo as a link or landscape post
Link and landscape post · Show whole photo
Cropping this 2:3 waterfall to 1.91:1 would leave only a thin slice of the falls. Keeping it whole on a blurred background gives a wide image that still shows the entire waterfall, top to bottom.

Keep Text Clear of the App's Buttons
Stories and Reels
Meta suggests leaving about 14% at the top and bottom of a story free of text and logos. Reels cover more of the bottom with the caption and audio line. Turn on the overlay to see both.
TikTok
Buttons run down the right edge and the caption sits across the bottom. TikTok says the covered area changes with caption length, so the overlay is an approximate guide.
Banners and profile pictures
A YouTube banner only shows its middle strip on phones, and profile pictures are cut to a circle. The overlay shows the YouTube safe area and the circle, so nothing important ends up hidden.
Tips for Sharp Social Media Images
- Use the original photo. Screenshots and images saved from chat apps have already been shrunk and compressed.
- Aim for a photo at least as wide as the format. If it is smaller, the tool warns you that it will be enlarged.
- Save photos as JPEG and graphics with text or logos as PNG.
- Keep faces and words near the centre: that part survives grid previews, circles and phone crops.
- If a platform or form limits the file size too, run the result through Resize Image to KB. To change a photo's proportions instead of cropping it, use the Image Stretcher.
Frequently asked questions
How do I resize an image for social media?
Pick the platform and the format, such as an Instagram portrait post or a YouTube thumbnail, then upload your photo. Choose Crop to fill and drag the preview to decide what stays, or Show whole photo to keep all of it on a background. Then download.
What is the best image size for social media?
There is no single size, because each platform and format has its own shape. For feed posts, 1080 × 1350 (4:5) works on Instagram, Facebook and LinkedIn. For stories, Reels, TikTok and Shorts, use 1080 × 1920 (9:16). For YouTube thumbnails and link previews, use a wide 16:9 or 1.91:1 image.
Should I crop or fit my photo?
Crop when the photo is close to the target shape, or when losing the edges does not matter. It fills the frame edge to edge. Fit (Show whole photo) when the shapes are very different, like a landscape going into a vertical story, or when nothing may be cut off.
What is a safe zone?
Stories, Reels, TikTok and some covers put buttons, names or captions over part of your image. The safe zone is the area they leave clear. The tool shades the covered areas on the preview so you can keep text and faces out of them. The shading is never saved in the file.
Why does my resized photo look blurry?
If your photo has fewer pixels than the size you picked, it has to be enlarged, and enlarging cannot add detail. The tool tells you when it enlarges a photo by more than a quarter. Start from the original file rather than a screenshot or a copy sent through a messaging app.
Which format should I download: JPEG, PNG or WebP?
JPEG for photos: every platform accepts it and files stay small. PNG for graphics with sharp text or logos. Auto keeps your file's own format, but turns WebP into JPEG (or PNG if it has transparency), because not every platform takes WebP uploads.
Is there a watermark or a limit?
No watermark, no signup and no daily limit. Images up to 20 MB in JPG, PNG or WebP can be opened.
Are my photos uploaded?
No. Your browser does all the work, and the photo never leaves your device. Nothing is kept after you close the tab.
Size Guides for Each Platform
Detailed sizes, examples and tips, with the tool opened on that platform.